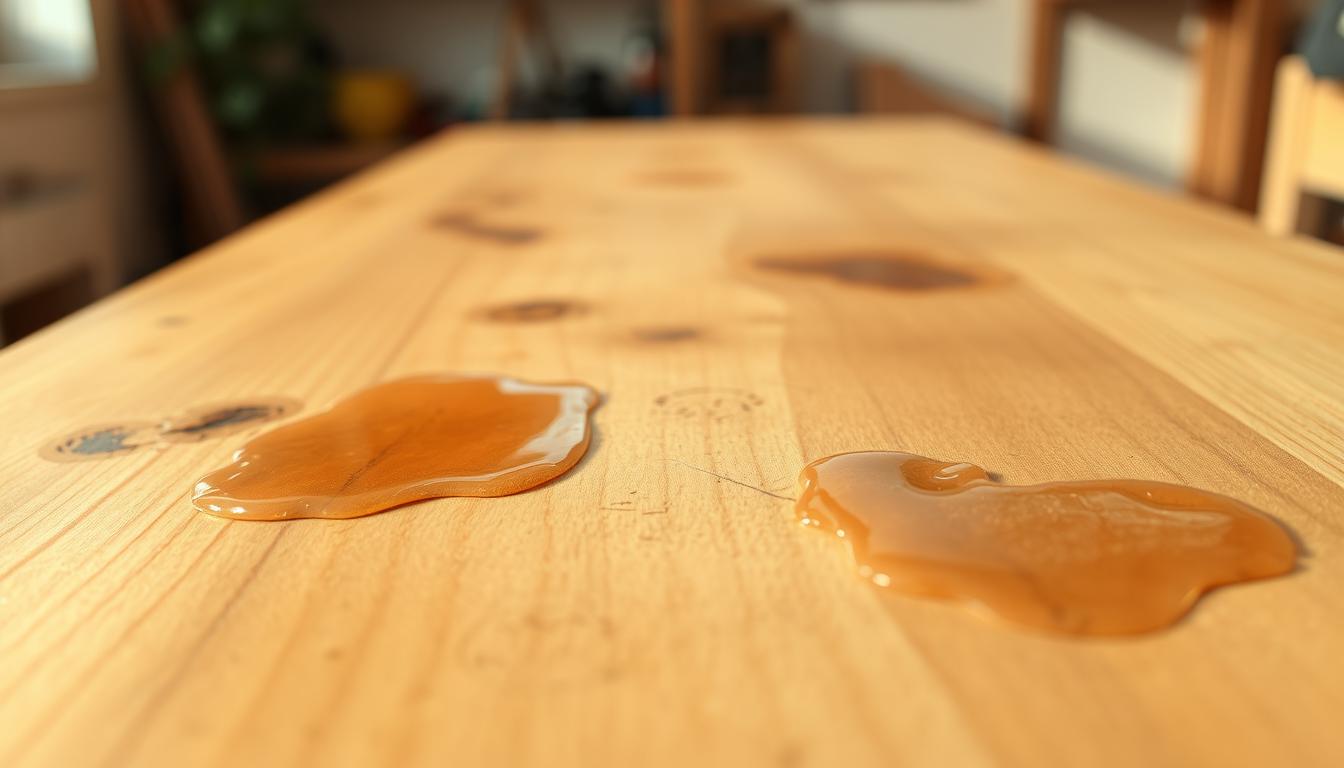
Sticker residue on wood can dull finishes and attract dirt. You want a clean, non-tacky surface that keeps your furniture, cabinets, and trim looking their best.
This guide starts with the gentlest approaches and moves up only if the sticky spot won’t budge. You’ll learn the difference between lifting the sticker paper and the leftover layer that needs special care.
We cover simple water-based softening, controlled heat, oil-based DIY options, alcohol solutions, and, when needed, stronger commercial removers like Goo Gone or 3M. After each step you’ll wash with soap and water to avoid a slick finish.
Safety first: test a hidden area because sealed and porous wood react differently. Avoid harsh scraping so you don’t mar the surface.
Follow the stepwise methods here and you’ll protect the finish while getting thorough removal and sensible aftercare to prevent oily or dull spots.
Why sticker residue sticks to wood and what makes it tricky
The way a sticker clings to wood is shaped by both the finish and the conditions it faced. That matters because your choice of method depends on the surface and the label chemistry.

Porous vs. sealed surfaces
Porous wood soaks up the sticky layer, which makes cleanup messy and deeper. When the material sinks in, you often need gentler, longer treatments to lift it without sanding.
Sealed finishes such as polyurethane, lacquer, varnish, or paint keep the layer on top. That makes the job easier, but it also limits which solvents are safe to use.
Common label glue types and why they differ
Many household products and décor items use rubbery or acrylic glue. Some stay soft; others harden as they cure or crosslink.
Timing, heat, and pressure effects
The longer a sticker sits, the harder it becomes to remove sticker bits cleanly. Sun, heat, or tight pressure speeds curing and can lock the bond.
- Match your method to the surface and the glue type.
- Work early when possible to reduce scrape temptation and protect wood.
- No single product works for every job—test and proceed carefully.
Prep your surface for scratch-free sticker residue removal
Prepare the surface and your tools first; careful prep prevents needless damage later. Clean loose dust and grit away so you won’t grind particles into the finish when you rub.
Test a hidden spot first
Always try any cleaner or method in a concealed area—inside a drawer lip or the underside of a shelf—to confirm it won’t haze or lift the finish.
Gather a gentle toolkit
Have a soft cloth, a paper towel, warm water, mild soap, and an old credit card or other plastic card ready. These simple items let you work slowly and keep control when you remove sticker bits.

What to avoid and when to use your hand
Avoid abrasive scrub pads and sharp blades; they cut through stain and clear coat in seconds. Use your fingers or the side of your hand to roll softened spots into little “worms” when the film is pliable.
When a plastic scraper helps
For thin film on sealed finishes, slide a plastic card flat and use light pressure. Keep the edge low and work slowly to avoid gouging the grain. Good prep reduces the need to use stronger methods later.
- Test cleaners in a hidden spot first.
- Toolkit: soft cloth, paper towel, warm water, mild soap, plastic card.
- Avoid abrasive pads and sharp blades on wood surfaces.
Removing adhesive residue with the gentlest methods first
The least invasive option is to soften the tacky patch with warm water and a soft towel. This approach protects finishes while loosening sticky material so you can lift it without scraping.
Warm water and soapy water with a soft towel
Dampen a disposable soft cloth with warm water and add a drop of mild soap. Wring it so the wood gets damp, not wet.
Press-and-wait technique
Place the damp towel over the spot and press gently. Let sit minutes at a time—usually 3–5 minutes—so the film softens.
Wipe direction and pressure tips
After letting it sit, wipe along the wood grain with light pressure. Re-wet the cloth rather than scrubbing harder to avoid raised grain or finish damage.
- Work in short cycles: press, let sit minutes, then wipe.
- Success looks like less tack and edges lifting or rolling up.
- If tack remains after a few cycles, move to controlled heat or oil-based methods.
Finish with a quick dry-down using a paper towel or dry cloth so softened material does not spread. This keeps the surface clean and ready for the next step if needed.
Use heat to loosen sticker residue without damaging the finish
A short burst of warmth can soften the sticky layer so you can lift it cleanly. Controlled heat reduces rubbing and the risk of scratches by making the film pliable on sealed wood surfaces.
Hairdryer settings and safe distance for wood surfaces
Set your hairdryer to medium heat and hold it about 6–8 inches from the surface. Warm in short bursts of about 30–60 seconds. Check with your hand — it should feel warm, not hot.
Lift while warm using a credit card edge or plastic tool
When the sticker softens, use a plastic card or credit card edge to lift from the outside toward the center. Work while the patch is warm to avoid smearing back across the finish.
Follow-up wipe to remove any remaining bits before they reharden
If the patch cools, pause and reheat rather than forcing it cold. Wipe loosened material with a soft cloth, then pat dry with a paper towel to catch small bits. This step helps prevent the film from rehardened and saves time when removing sticker residue.
- Tip: Heat works best on sealed surfaces and stubborn sticker films.
- Use short bursts and frequent checks to protect the finish.
- Finish by drying the area so it’s ready for the next method if needed.
Oil-based DIY removers for wood: safe ways to dissolve sticky residue
For many finished surfaces, kitchen oils offer a safe way to loosen sticky spots. Oils penetrate the tacky layer and lift it so you can wipe without scraping the finish.
Coconut oil and baking soda paste for delicate or painted wood
Make a gentle paste by mixing a teaspoon of coconut oil with a pinch of baking soda. Spread a thin layer over the spot and let sit minutes, usually 3–5 minutes.
Gently rub with a soft cloth until the sticker residue softens and lifts. Wipe away the paste and do not scrub hard.
Peanut butter method and timing
Smear a small amount of peanut butter over the patch and keep it contained to the affected area. Let sit 5–10 minutes so the oil loosens the sticky residue.
Wipe off with a cloth, repeating if needed rather than pressing harder.
Cleaning off oily traces
Finish by washing the spot with a drop of mild soap and warm water to remove oily residue so the surface won’t attract dust. Dry with a clean cloth for an even finish.
- Tip: Use gentle pressure and repeat cycles rather than aggressive rubbing.
- Test on a hidden area first to protect the wood finish.
Vinegar and alcohol solutions for stubborn residue on sealed wood
If earlier steps did not free the sticky patch, try short, controlled use of vinegar or rubbing alcohol on sealed wood only.
White vinegar works best on glass and metal. Dampen a soft cloth with white vinegar, place it over the spot, and let sit about 5–10 minutes. Wipe gently and repeat if needed.
On wood, keep contact time short. Many finishes dull if acids sit too long. Test a hidden area first to be sure the topcoat holds up.
Rubbing alcohol for smooth finishes
Rubbing alcohol or a gel hand sanitizer breaks down the tack quickly on smooth surfaces. Apply to a cloth and rub with light pressure in short passes.
Watch the finish. Stop if you see color transfer or a sheen change. Work in a well-ventilated area and avoid soaking the wood.
- Use these methods only on sealed wood.
- Always test first and ventilate the room.
- Finish by wiping with a damp cloth and drying so no solvent remains.
When to use stronger solvents like nail polish remover on wood
Only escalate to stronger solvents when warm water, heat, and oil-based tricks don’t work. Strong solvents can harm finishes, so treat them as a last resort and always test a hidden spot first.
Why caution matters: acetone-based nail polish can dull or haze lacquer and some stains. Use these products only after you’ve exhausted gentler steps and confirmed the finish holds up in a concealed area.
Acetone basics and contact time
Put a small amount of acetone-based nail polish on a dry cloth. Press that cloth against the spot and hold for several minutes until the sticky layer softens. Contact time lets the solvent work without spreading across the wood.
Controlled application and cleanup
Never pour directly on wood. Dab or press with the cloth, then lift softened material with a plastic edge. Wipe immediately with a clean cloth and follow with a lightly damp wash using mild soap and water to remove traces.
When to try denatured alcohol
If acetone fails, try denatured alcohol using the same cloth-and-press method. Both solvents act fast, so keep contact brief and dry the area right away to protect the finish.
- Escalate only after testing and failed gentle methods.
- Apply with a dry cloth for control and quick cleanup.
- Finish by washing and drying to restore a clean surface.
Commercial products that remove sticker residue from wood efficiently
For broad or stubborn patches, a targeted product can speed cleanup while limiting scrubbing. Commercial options work well when you’ve tried gentler methods and the patch still clings to labels or finish. Use them carefully and always test a hidden spot first.
Goo Gone workflow
Goo Gone is designed for sticky messes on finished wood. Apply it to the spot, let it sit 5–10 minutes, then wipe with a soft cloth. Repeat if needed and avoid heavy rubbing to protect the topcoat.
Spray lubricants like WD-40
WD-40 and similar water displacement sprays break down tack. Spray onto a cloth, not directly on wood, and rub gently. Clean the area afterward so oil from the spray won’t attract dust.
Stronger removers for tough spots
3M Adhesive Remover handles stubborn patches. Spray lightly, allow a few minutes to work, then wipe away. Use sparingly on finished surfaces and stop if the sheen changes.
Magic Eraser use and caution
A slightly damp Magic Eraser can help light marks on hearty finishes. It may be too aggressive on glossy or delicate wood, so test first and keep pressure low.
- Cleanup: Wash the treated area with warm water and a drop of soap to remove oily traces.
- Dry and buff with a clean towel or paper towel so the wood looks even and isn’t greasy.
Conclusion
Wrap up with a clear sequence so you work from gentlest to strongest and avoid surface damage. For most jobs on wood, start with warm water and mild soap, try controlled heat next, then oil-based DIY fixes. If the patch sits on a sealed surface, use vinegar or rubbing alcohol briefly before testing stronger options.
When removing sticker residue, soften first and lift gently with a plastic card. Avoid aggressive scraping that can mar the finish.
If the spot is light, water and soap may be enough. If it’s tacky and stubborn, heat or oil is often the safest next step. Commercial products like Goo Gone, WD-40, or 3M can speed removal, but always wash with soap and water afterward.
Always spot-test before using vinegar, rubbing alcohol, nail polish remover, or any stronger remover. Once the area is clean, dry and buff so the surface blends and won’t attract dust.