Not all “wood” surfaces clean the same. If you own veneer, solid pieces, or laminate, the right approach varies. This post opens with the core fact: the material type decides how you care for everyday furniture.
You’ll get a practical, step-by-step how-to that focuses on safe daily care, stain removal, and long-term protection. Read on for simple routines you can use at home or in the office right now.
Why it matters: a wrong product or too much heat can cloud a finish, leave residue, or shorten the life of your investment. Veneer has a thin real layer with seams and glue to watch; solid pieces are thicker and more forgiving. Laminate is nonporous and reacts differently to polishes and cleaners.
Quick wins include a microfiber cloth, warm water, and immediate drying. Later sections offer targeted fixes for rings, heat marks, ink, and sticky residue, plus practical tips you can apply for years.
Wood veneer vs. solid wood: how to tell what you’re cleaning and why it matters
Identify the material first. A quick look at edges, underside, and pattern repeats tells you whether a piece is a thin topped product, solid construction, or a synthetic overlay. That single check guides the safest care steps.

How to spot a thin real layer
Veneer is a real hardwood layer glued to a core like particle board. Look for seams at edges and repeating grain patterns. Those clues show the top is thin and can lift if overexposed to moisture.
What solid pieces reveal
Solid construction shows continuous grain through edges and underside. It tolerates gentle refinishing and more forgiving drying times than a thin top.
Where laminate belongs
Laminate uses synthetic layers printed with grain. It is nonporous, so residue sits on the surface instead of soaking in. That means different products and fewer risks from light spills.
- Check edges and underside for seams.
- Match your routine to the material and finish.
- Choose durability for desks and high-use design pieces.
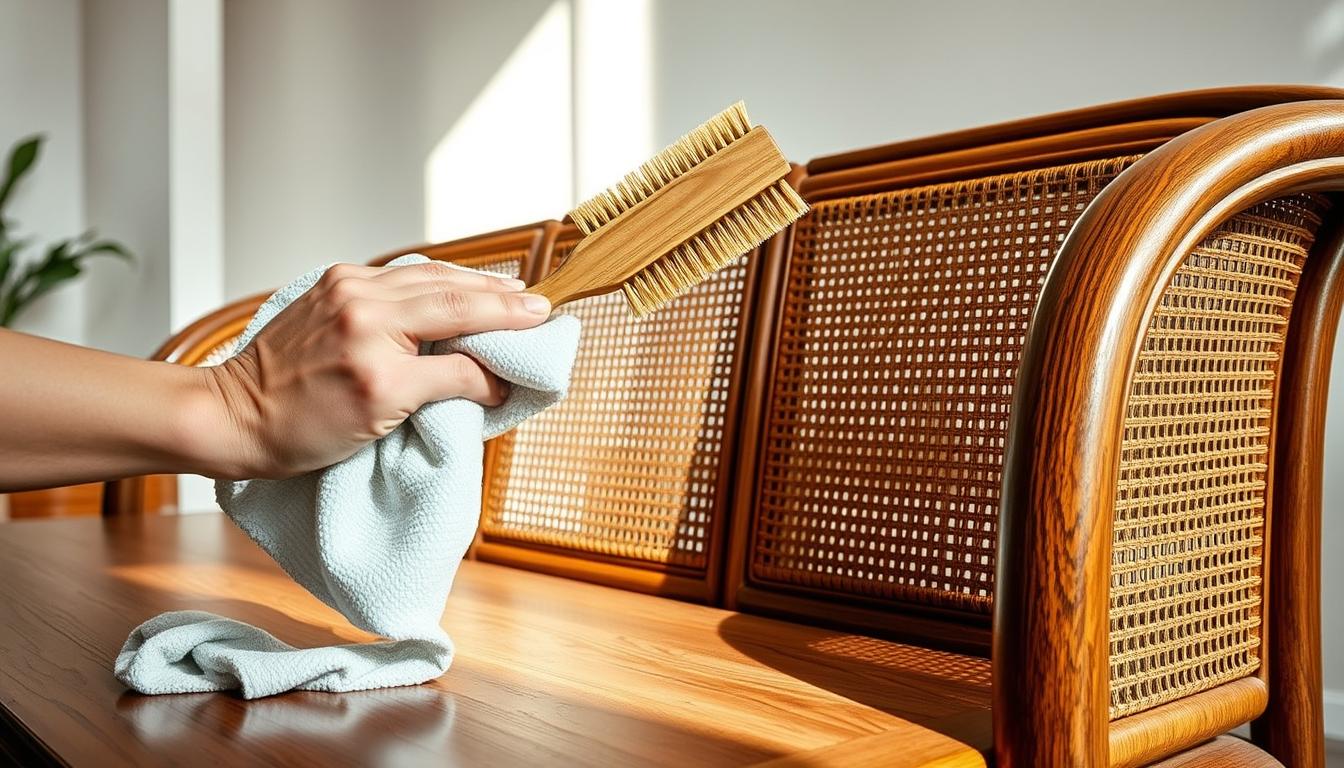
Cleaning wood veneer: the safest routine for everyday dust and smudges
Start with a gentle, daily routine to keep veneer tops free of dust and light marks.

Dry dusting to prevent dullness
Begin by dry dusting with a soft microfiber cloth. Move in the direction of the grain to lift particles, not drag them.
Damp-wipe controls
When a damp cloth is needed, use a lint-free rag lightly moistened with warm water. Wipe small sections and follow the grain for even removal.
Mild soap for deeper spots
For fingerprints or light grime, mix a drop of mild soap with warm water. Use the solution sparingly, rinse the cloth, then wipe again with plain warm water.
Dry immediately and choose safe cleaners
Always dry the area right away, especially near seams and edges where moisture can seep in and weaken adhesive. Pick pH-balanced, non-abrasive cleaners made for delicate tops. Avoid ammonia or alcohol; they can cloud the finish.
- Work in small areas at a time.
- Use minimal liquid and rinse the cloth often.
- Patch-test any new product in an inconspicuous area first.
Removing common stains and marks from veneer surfaces without damaging the finish
Fast, targeted care limits damage. Treat each mark by type so you don’t strip or cloud the top layer. Work in small areas and dry immediately after any damp method.
Water rings and cloudy spots: If condensation leaves rings, press a cotton cloth over the area and briefly run a warm iron across the cloth for a few seconds to pull trapped moisture out. Or make a paste of water and baking soda, rub gently, then wipe and dry.
Heat marks and blister risk: For white rings from hot mugs, spread a thin layer of petroleum jelly and leave overnight. Wipe and buff the next day. Avoid high heat—it can blister the thin top and cause permanent damage.
- Ink: Dab—not scrub—with a cloth lightly moistened with rubbing alcohol. Work outward from the spot.
- Sticky residue: Start with warm water and mild dish soap. If grime remains, use a diluted water-and-white vinegar mixture sparingly, wringing the cloth well to avoid over-wetting, then dry the area.
- Chewing gum: Freeze with ice in a sealed bag, lift gently, and clean leftovers with soap and warm water.
Act quickly on stains and test any method in an inconspicuous area first. That way you protect the finish and keep the surface looking its best.
What to avoid when cleaning veneer and solid wood surfaces
Avoid common mistakes that quietly shorten the life of your furniture and ruin finishes.
Harsh chemicals and abrasive pads promise fast results but often cause lasting damage. Ammonia-based products and strong degreasers can discolor a finish or create a cloudy look. Abrasives scratch thin tops and remove the protective layer on solid pieces.
Too much liquid and moisture risks
More water is not more clean. Excess water soaks seams, swells fibers, and can cause bubbling or separation of the thin top.
Signs of “too wet” include dripping cloths, pooled water, or surfaces that stay damp. If that happens, blot immediately and dry with a soft cloth.
Solvent cautions and a safe patch-test
Mineral spirits and strong solvents are usually discouraged for delicate tops. They may remove finish or leave color changes.
- Choose a hidden area for testing.
- Use a tiny amount on a clean cloth and dab once.
- Wipe quickly, watch for haze, color transfer, or dull spots.
- If you see any change, stop and do not use that cleaner again.
Make sure any product you pick matches your surface type and finish. Stop immediately if you notice haze, color loss, or stickiness. That keeps surfaces safe and helps avoid costly repair or replacement.
Cleaning solid wood surfaces: what changes compared to veneer
Solid construction tolerates more handling, yet the right habits keep finishes clear and long-lasting.
Why frequent spray polish can create residue and a sticky surface
Spray polishes look convenient, but repeated use leaves a thin film that attracts dust and skin oils. Over time that film forms a tacky residue and makes your furniture feel sticky.
If you see haze or color on the cloth, stop and reassess. Old polish build-up often needs removal before normal maintenance resumes.
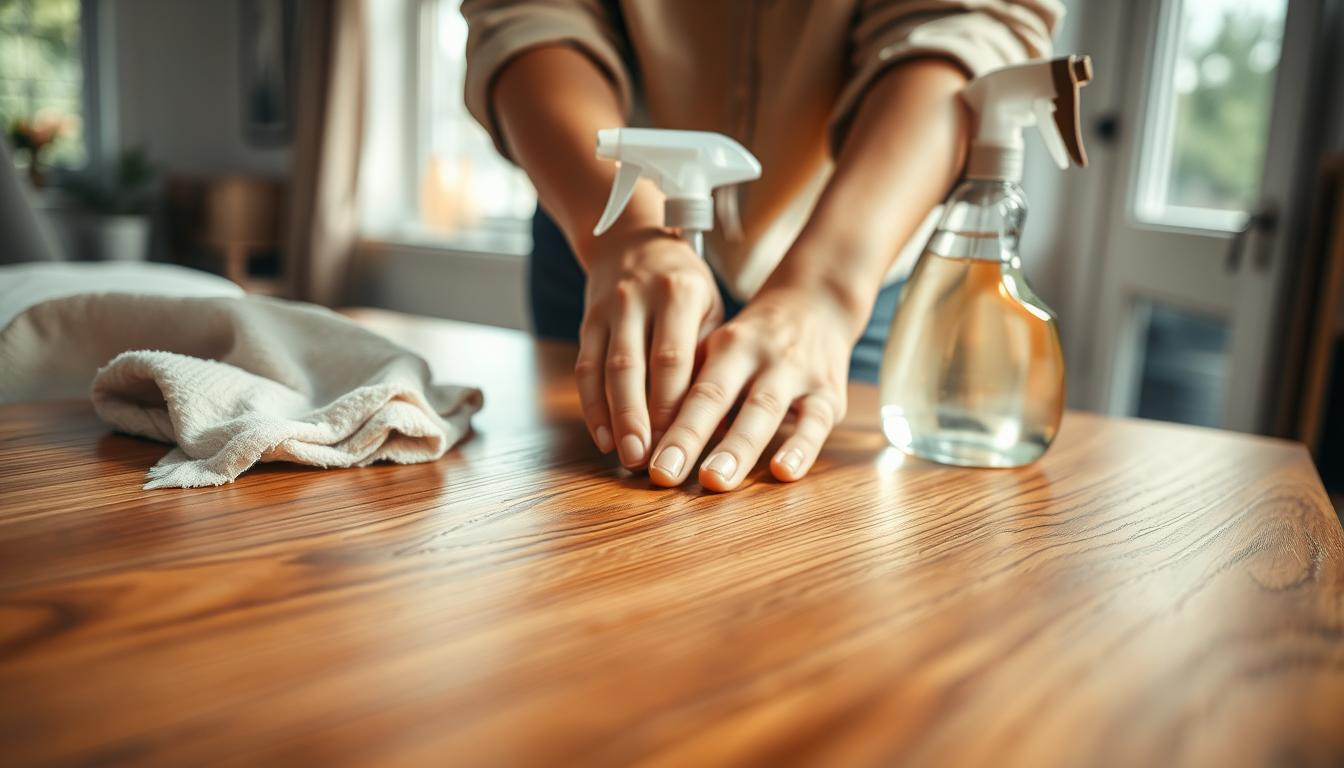
Best practice for everyday care
For routine maintenance, wipe with a soft microfiber cloth dampened with warm water. Work in small sections and dry each area immediately with a clean dry cloth.
Finish with a light dry buff to restore clarity and remove any streaks.
Deeper cleaning and heavy grime
For deeper dirt, dissolve a small amount of soap flakes in warm water and apply with a wrung-out cloth. This cleans without the dulling effects of strong detergents.
For very sticky buildup, mix a few drops of diluted vinegar in a cup of water. Use a barely damp cloth and never soak the surface. Dry promptly.
- Office desks and conference tables: wipe daily to remove skin oils and protect finish.
- Stop and test if you see tackiness, haze, or color transfer to the cloth.
- Even solid tops benefit from quick drying and minimal liquid to protect the surface.
Protecting your wood furniture long-term in a home or office setting
Protecting your furniture starts with a few daily habits that block wear before it begins. These steps shift you from reactive fixes to simple prevention that saves time and keeps surfaces looking sharp.
Coasters, trivets, and quick prevention
Use coasters and trivets every day. They stop condensation rings and shield tops from heat that can blister a thin layer.
This habit is non-negotiable for veneer and helpful for all pieces in a busy office or home space.
Fast spill-response routine
If a spill happens, blot it immediately with a dry cloth.
Wipe with a lightly damp cloth only if needed, then dry the spot thoroughly to keep moisture from breaking down glue under veneer.
Placement and sunlight
Keep furniture out of direct sun to reduce fading and uneven wear. Rotate rugs and accessories to preserve consistent design across a room.
Polishes, waxes, oils, and lacquers
Protective finishes like waxes, oils (tung or linseed), and lacquers add resistance and make maintenance easier.
They do require periodic reapplication and can build up if overused, so match the product to how often the piece is touched.
When refinishing is appropriate
Refinishing a thin top is possible for deep stains or fading, but sanding must be very light to avoid cutting through the layer to the substrate.
- Daily dusting and coaster use for high-touch desks in an office.
- Periodic polish for display cabinets to keep a natural wood look.
- Immediate stain treatment and a light protective recoat every few years for busy surfaces.
Maintenance cadence: dust daily, use coasters, spot-treat spills, and refresh protective finishes on a schedule that fits the piece. These small steps keep furniture in service and looking great for years.
Conclusion
A simple rule keeps most problems away: use the gentlest method that works for the material.
Match your approach to the surface—laminate, wood veneer, or solid pieces—to avoid lasting damage. When you pick the right way, many issues never start.
For everyday care, rely on a soft microfiber or lint-free cloth, a bit of warm water when needed, and quick drying. This baseline routine handles most dirt without risk.
Dust often with a soft cloth to prevent tiny scratches and dulling. Gentle dust control is one of the best tips for long-term upkeep.
Treat stains fast: try mild solutions first, blot don’t rub, and never soak seams or edges. That one habit limits repair needs.
Skip harsh chemicals, abrasive pads, and heavy solvents. Don’t soak or over-wet a surface, and stop if you see haze or stickiness.
Protect your investment with consistent care and simple habits. When in doubt, patch-test any new cleaner in a hidden spot before you use it on a visible area.