Maple and pine show grime and color changes faster than darker pieces, so your approach matters. You’ll learn a gentle routine that keeps your finish clear and even.
Yellowing looks like a warm cast or uneven tone, often darker where you touch most. That is different from normal aging. Careful cleaning helps you control those changes rather than speed them up.
This guide previews a simple workflow: dry dusting, a low-moisture wipe, targeted spot cleaning, then polishing light wood in thin, even coats along the grain. You’ll buff with a microfiber cloth and reapply wax only when needed.
Do no harm: use minimal water, mild soap, and test products in a hidden spot. Product buildup from old oils and wax can darken surfaces and trap dust, so focus on clean-and-protect instead of over-conditioning.
By following this repeatable routine you get brighter furniture, fewer streaks, and lasting protection for the finish on your wood furniture.
Key takeaways: Use low-moisture methods, test products, follow grain when polishing, and keep a regular dusting schedule to prevent yellowing.
Why Maple and Pine Yellow Over Time and What You Can Control
Clear finishes on maple and pine react with UV and oxygen, which can make the finish appear ambered. Sunlit spots shift faster than shaded areas because oxidation and ultraviolet exposure change the chemistry of the clear coat. That creates uneven tone and a warmer look on exposed surfaces.
Heat and dry indoor air pull moisture from the grain. This can cause tiny cracks and a duller surface that looks older sooner. Keep pieces away from heater vents and direct sun to limit stress and long-term damage.
Product buildup from repeated oil and wax applications can form a tacky film. That film attracts dust and darkens the surface, especially on pale finishes.
- Avoid direct sunlight and rotate décor to prevent tan lines.
- Dust often with a soft cloth to stop grime buildup.
- Skip heavy oils that smear; choose non-ambering options.
- Never leave standing water or over-spray cleaners on seams and edges.

Quick care tip: control placement, remove dust, and pick non-ambering products now. In the next section you’ll see how minimal-moisture cleaning and gentle tools protect the finish while cleaning.
Gather the Right Cleaner, Polish, and Tools for Light Wood Furniture
Start by gathering a small kit of tools so you avoid stopping mid-clean and leaving moisture on the finish. Having everything ready keeps you in control and reduces the risk of marks from standing water or product buildup.

Dusting and basic kit
Collect these items before you begin:
- Soft brush and vacuum brush attachment
- Microfiber or soft lint-free cloths
- Mild dish soap mixed in lukewarm water as your cleaner
- Cotton swabs, a small detailing brush, and a soft toothbrush
Detailing, sanding, and finishing aids
Keep fine-grit sandpaper or fine-grade steel wool for rough patches only. Always sand with the grain to avoid visible scratches.
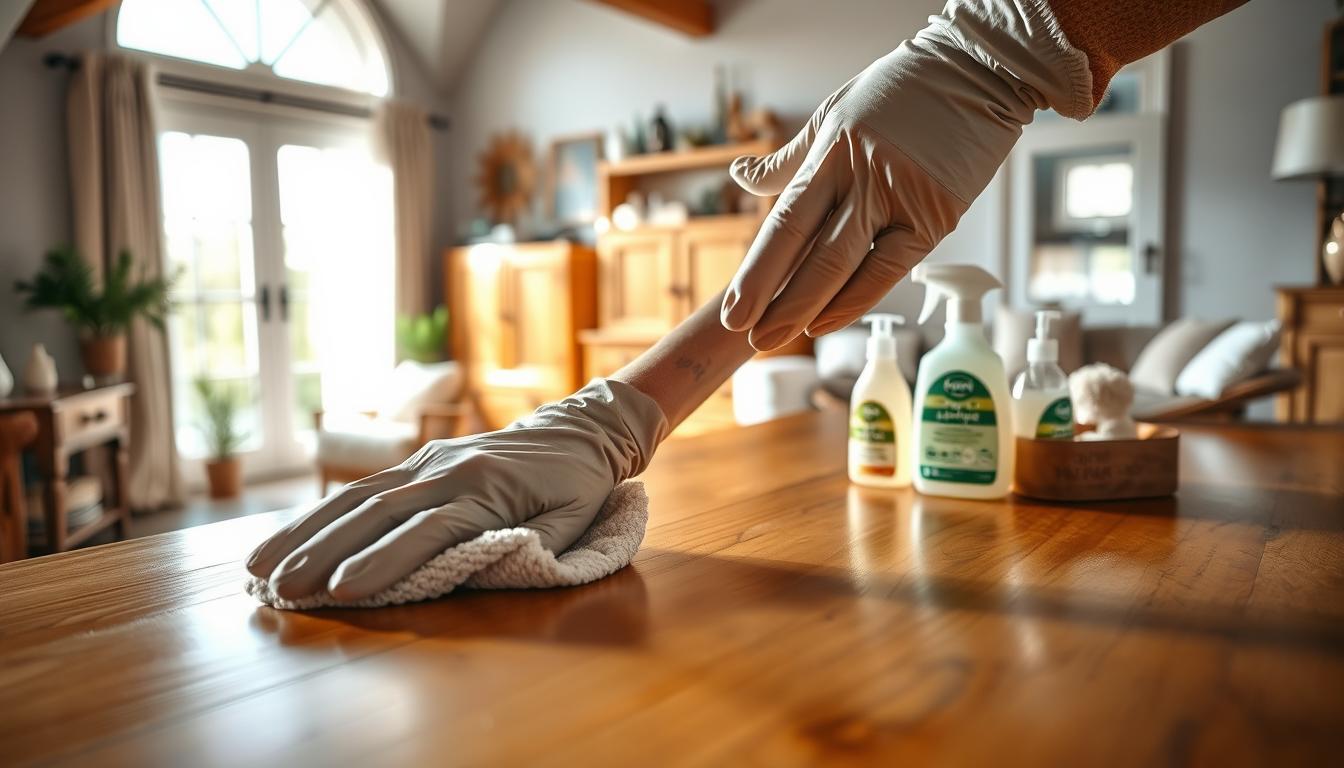
Use a tack cloth after any abrasion to remove fine dust. Wear gloves when handling products and have a clean, dry towel handy to dry surfaces immediately and prevent streaks when you polish wood or apply a thin coat of wax.
Clean the Wood Surface Without Stripping or Yellowing the Finish
Start by removing loose grit so you don’t grind dirt into the finish. Dry dusting prevents particles from becoming abrasive and protects the sheen.
H3: Dry dusting and initial prep
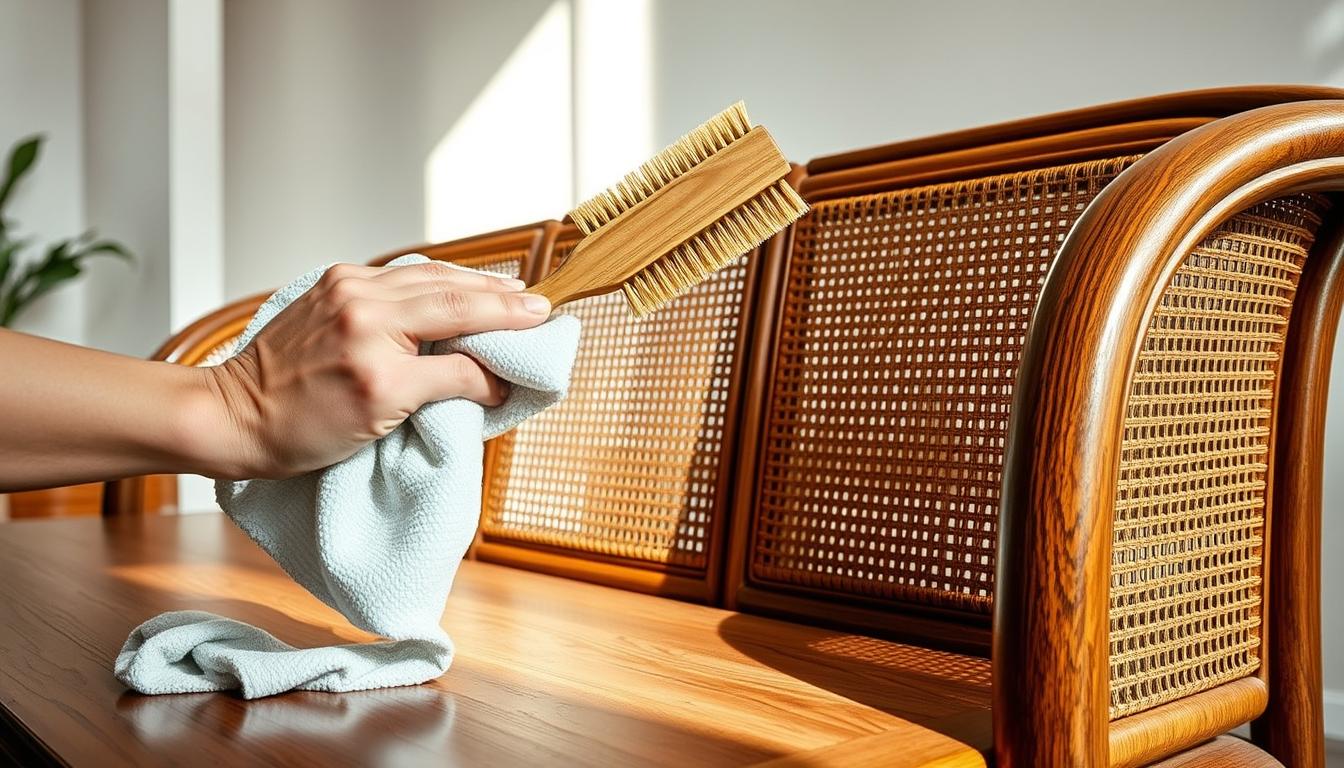
Use a soft brush then vacuum with a brush attachment to lift dust. Work with the grain and keep motion light.
H3: Low‑moisture wipe and soap
Wring a microfiber cloth until nearly dry. If soap is needed, mix a drop of mild soap in warm water, dampen the cloth, wipe quickly, and dry immediately with a soft towel.
H3: Safe vinegar guidance
For stubborn grime, use a vinegar and water mixture at or under 50:50. Test in a hidden spot first to avoid discoloration.
H3: Protect seams and end grain
Avoid soaking joints and pine end grain. Dab small areas with a barely damp cloth and dry them fast so water won’t creep into seams.
- Order: brush/vacuum → microfiber wipe → barely damp soap cloth → immediate drying.
- Avoid multipurpose sprays and over‑spraying any mixture on the surface.
What success looks like: a clean, residue‑free surface ready for spot cleaning or polish without streaking.
Spot-Clean Stains, Sticky Residue, and Dark Marks on Light Wood Surfaces
Start small: identify whether the mark sits on the surface, is trapped in the grain, or has become a true stain that penetrated the finish. This helps you pick the least aggressive step first and avoid widening the area of damage.
Lift embedded dirt gently
Use an adhesive rubber or a gum eraser to roll dirt from the grain. Work lightly so you don’t dull the nearby finish. If debris resists, follow with a stiff brush in short strokes, then vacuum the loosened dirt and wipe with a microfiber cloth.
Remove marks and sticky residue
For marks, mix a thin baking soda and water mixture into a paste. Apply gently, rub in the direction of the grain, then remove with a clean damp cloth. Let the area dry completely.
When to use mineral spirits and sanding
Mineral spirits belong in your process for sticky residue or old wax buildup. Test a small area first to make sure the finish does not soften or haze.
If localized damage remains, do light sanding only on the affected spot with fine grit and move with the grain. Remove all dust so the next step bonds evenly and the repaired area blends in.
- Identify: surface residue vs embedded dirt vs true stain.
- Least-aggressive-first: eraser → brush → baking soda → mineral spirits → sanding.
- Always remove residue and dust before finishing the area.
Polishing light wood for a Clear Shine Without a Yellow Cast
Choose products and technique that protect the clear layer so your pieces stay bright. Prefer non‑yellowing, finish‑safe polish formulas made for maple and pine. Avoid heavy oil‑based products that can amber, smear, and attract dust.
Work in small sections. Apply a thin, even coat with a soft cloth and follow the grain. Thick layers streak and can become tacky.
How to buff and when to use tools
After spreading the product, switch to a clean microfiber and buff with steady, moderate pressure in controlled circles. For large furniture, an electric buffer helps if you keep speed low and avoid heat buildup.
Wax timing and final steps
- Apply an even wax layer and let sit ~30 minutes.
- Buff once, then wait 60–90 minutes before a final buff for lasting sheen.
- Don’t recoat too soon or mix multiple products in one session.
What success looks like: a clear, even shine, a dry-to-the-touch surface, and no slick residue. If you spot tackiness, remove the layer and repeat with thinner coats.
Conclusion
Keep a simple routine to protect your finish and keep furniture bright over time.
Dry dust weekly with a soft cloth, use a mild cleaner with minimal water, then follow with targeted spot care and a gentle polish. Treat edges and joints as high-risk areas for moisture and dirt.
Limit sun and heat exposure, avoid product buildup from the wrong oils, and rotate items to maintain even appearance. Test any vinegar mixture or new cleaner in a hidden area first.
Quick schedule: dust weekly, deeper cleaning as needed, and check for tacky or dull spots that signal buildup. If haze or persistent dark marks return, consult a professional for refinishing options.