You want a simple, safe routine to reduce germs on surfaces in your home without harming finishes. Health experts advise daily care for high-touch items, and a steady four-step process helps you keep things clean while protecting the finish.
Start with dusting, then use the right disinfectant and allow proper dwell time. Next, remove residue and finish with wax or polish to protect the surface.
Be careful: excess water or harsh products can dull finishes, cause swelling, or leave rings. The goal is clear—lower germ counts on tables, cabinets, nightstands, and bed frames without over-wetting or scrubbing too hard.
In this article you’ll learn how to pick a safe product, apply it with a cloth, and fix common issues like haze, sticky film, or light scratches. Follow a repeatable, low-damage routine so your furniture looks good and stays healthy all season.
Why sanitizing wood furniture matters during flu and cold season
During cold and flu season, high-touch surfaces in your rooms can carry germs long after someone coughs. Left unchecked, dust and contaminants collect into a film that can trap allergens and bacteria on every piece you use daily.

High-touch zones that hide germs
- Table edges, drawer pulls, and cabinet fronts where hands land again and again.
- Chair backs and nightstand tops that get touched throughout the day and night.
- Desk areas and electronic stands where skin oils and pollen mix with dust.
- Small handles and knobs that are easy to miss but collect microbes fast.
Cleaning, disinfecting, and polishing — what each does
Cleaning removes visible grime, oils, and loose dust so you don’t smear particles across the finish.
Disinfecting reduces microorganisms to safer levels on the furniture surface. Experts recommend focusing daily on high-contact zones in busy homes.
Polish restores shine and adds a thin protective layer that helps repel dust and wear. Skip steps and you risk grinding particles into the finish or leaving residue that attracts more dirt.
Know your wood furniture before you clean or disinfect
A quick inspection saves you from costly mistakes. Identify the type of wood — teak, oak, acacia, or walnut react differently to water and cleaners. Knowing the species helps you predict staining, swelling, or color change.

Spot the finish and adjust your method
Check the finish on each piece. Sealed or varnished surfaces tolerate mild soap and a damp cloth, but must be dried immediately to avoid rings. Oiled or unsealed surfaces absorb liquid fast and need minimal water and regular conditioning.
Porosity, heat, and sunlight — why they matter
Wood is porous. Prolonged moisture can swell the grain, lift parts of the surface, or leave cloudy marks. Avoid direct sunlight and heat sources; vents and radiators dry and fade color over time.
Always spot test first
Try any cleaner in an inconspicuous area on an older piece. After a test, look for tackiness, dullness, color transfer to the cloth, or a hazy film. Those signs mean choose a gentler product or shorten contact time.
- What to look for: tackiness, loss of sheen, color shift, or haze.
- Quick tips: use a soft cloth, work small areas, and dry immediately.
- When in doubt: consult a pro for antiques or unknown finishes.
Prep the area and gather supplies for a low-damage cleaning routine
Start by clearing the surface so grit won’t turn into scratches when you wipe. Remove décor, lamps, and any loose items before you begin. Working on a bare surface makes a big difference.
Microfiber cloth vs. soft cloth vs. lambswool duster
Microfiber cloth traps particles with split fibers and works best slightly damp. A slightly damp microfiber cloth holds more dust and reduces rubbing that causes scratches.
Use a soft cloth for quick wipe-downs or delicate finishes. A lambswool duster helps you reach shelves and high spots and creates static that draws dust away.
What to avoid: abrasive tools, harsh chemicals, and overly wet cloths
- Clear the area first so you don’t drag grit under a cloth and cause marks.
- Keep multiple cloths on hand: one for dusting, one for disinfectant application, one for rinsing, and one dry for final drying.
- Basic products to have nearby: mild soap, warm water, a wood-safe disinfectant, and optional wax or polish.
- Avoid abrasive pads, harsh chemicals not meant for wood, and overly wet cloths that let water seep into seams.
Safety tip: Ventilate the room when you use disinfectant products and work in small sections so nothing sits too long.
Step-by-step process for sanitizing wood furniture safely
Work methodically in small zones so each step stays controlled and nothing sits too long on the finish. Follow this simple, repeatable process: dust, apply disinfectant, rinse, dry, and protect. Each action is brief but important to keep the finish intact while reducing germs.
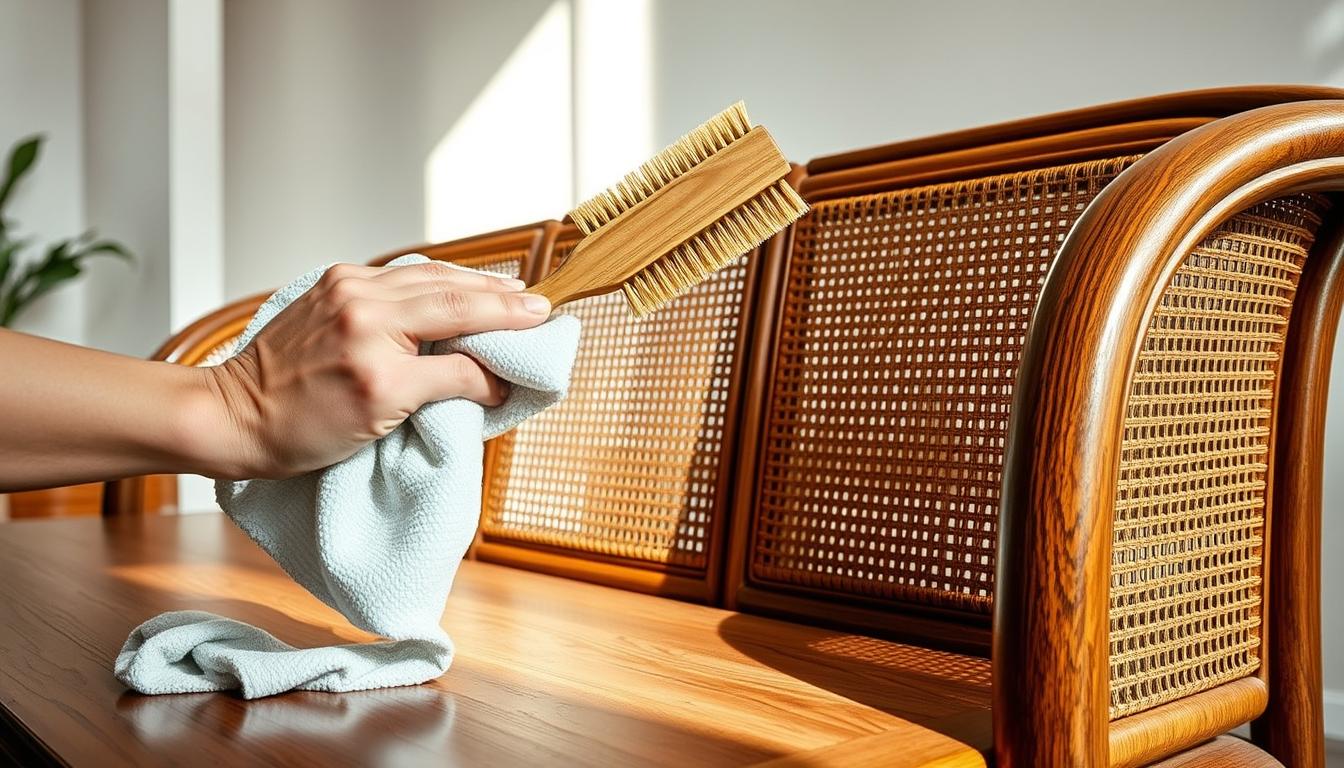
Dust thoroughly to prevent scratches and stop grime from smearing
Step 1: Remove all loose debris from the entire surface, edges, undersides, and drawer lips. Dusting first stops grit from being rubbed into the surface when you use a damp cloth.
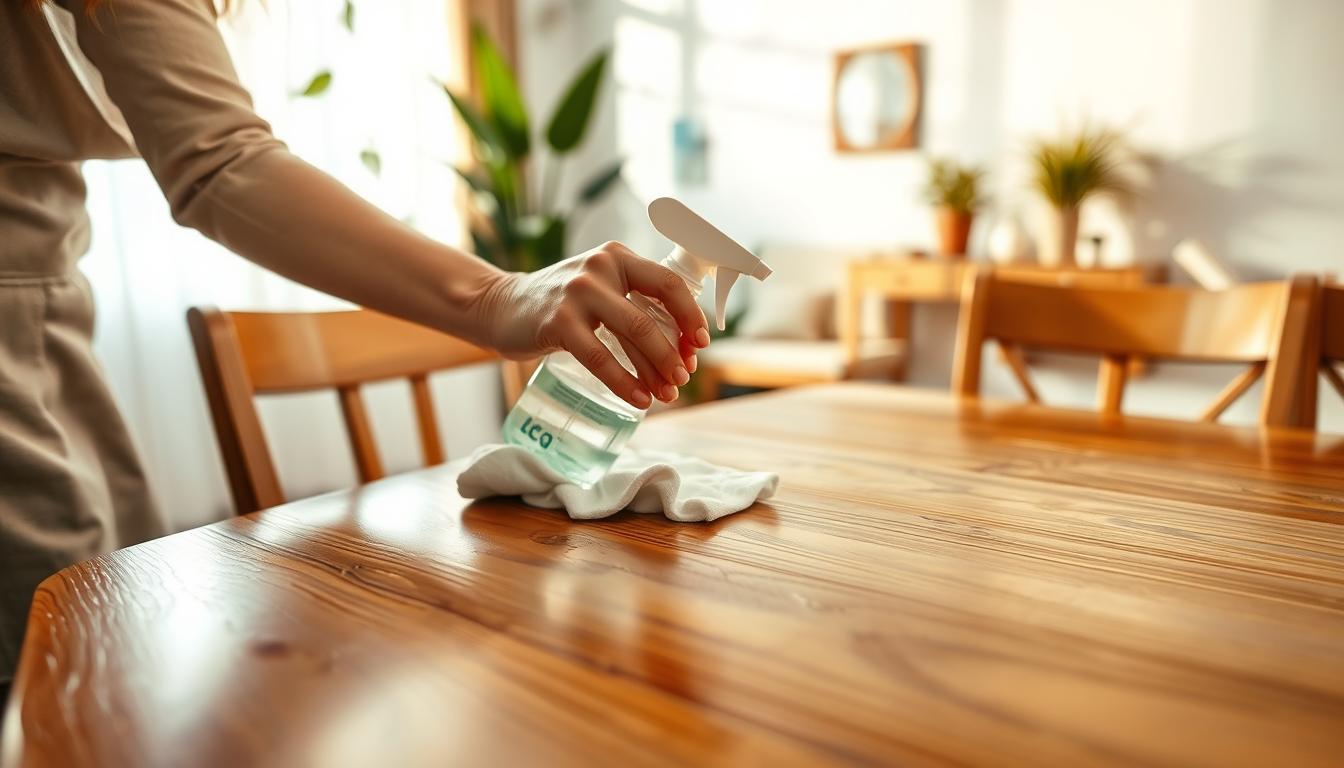
Apply your disinfectant with the right dwell time—without soaking the wood
Step 2: Put disinfectant on a cloth or use a light mist. Follow label time for dwell time, and keep the area only lightly damp. Do not let water or product soak in; short contact is enough when the label specifies dwell time.
Rinse off residue with a damp cloth to protect the furniture surface
Step 3: Wipe with a clean, slightly damp cloth to remove residue that can haze or attract dust. Use minimal water so seams and joints do not swell.
Dry immediately with a clean, dry cloth to prevent water rings and swelling
Step 4: Dry right away with a dry cloth, following the grain to avoid streaks. Quick drying reduces the chance of water rings and joint swelling.
Finish with wax or furniture polish to restore shine and add a protective layer
Step 5: Apply wax or furniture polish sparingly to your cloth first, never pour directly on the surface. Buff evenly to restore shine and add a protective layer that makes future cleaning easier.
- Dust every part of the furniture surface before you touch liquids.
- Apply disinfectant to a cloth; keep the surface lightly damp and time it per the label.
- Rinse with a damp cloth (not soggy) to remove residue.
- Dry immediately with a dry cloth, following the grain.
- Apply wax or polish to a cloth, buff in small amounts.
Pacing tip: Work half a table or one drawer at a time so you rinse and dry each zone before moving on. As a best practice, always apply polish or wax to the cloth first when you apply wood care products near seams.
Choosing the right disinfectant for wooden furniture without ruining the finish
Not every disinfectant is safe for finished surfaces—select products with care and follow directions. Your choice should match the finish type, label directions, and how often you plan to clean during cold and flu season.
Commercial options: Look for multi-surface or wood-safe cleaners. For example, Lysol® Clean and Fresh Multi-Surface Cleaner can be used per label; follow dilution and contact time and avoid leaving it sitting too long.
DIY and stronger options
For a DIY vinegar solution, use 1 part vinegar to 4 parts warm water or mix 1 cup vinegar + 2 cups water + ~5 drops dish soap, then rinse well. Acid can dull some finishes, so wipe and dry quickly.
Alcohol works as a fast option—use isopropyl at about 70/30 or 60/40 (alcohol/water) and apply with a cloth to avoid soaking seams. Hydrogen-peroxide products (example: Virox) are used in healthcare and are effective when applied per instructions.
Occasional bleach use requires 1:9 bleach to water. Apply with a soft cloth and wipe with a damp rag before it dries to protect the finish.
- Avoid: solvents, turpentine, paint thinners and other harsh chemicals that strip or soften finishes.
Finish-specific cleaning techniques to prevent streaks, dullness, and water damage
Treat each finish type with a tailored approach to keep the surface even and lasting. Matching your method prevents streaks, haze, and long-term damage.
Varnished or sealed surfaces: gentle wash and fast drying
For sealed pieces, use a well-wrung cloth and a mild soap mixed in warm water. Wipe small areas and dry immediately with a clean cloth to avoid rings or swelling.
Quick steps:
- Mix a little soap with warm water.
- Apply with a barely damp cloth, then rinse with a second damp cloth.
- Dry at once, following the grain to prevent clouding or damage.
Oiled or unsealed pieces: minimal moisture and regular conditioning
On oiled surfaces use the least water possible—just a damp microfiber or soft cloth. Avoid letting disinfectant sit; blot and dry quickly.
Maintenance tip: Condition these surfaces regularly with a compatible oil to keep the wood from drying and cracking.
- Wipe with a barely damp cloth; dry immediately.
- Apply oil or conditioner per product directions every few months.
- Keep routine care simple to protect the surface and finish.
If a section looks hazy or feels tacky after cleaning, it usually means too much product or not enough rinsing and drying. Keep methods mild—stronger is not better when you want even results on your wooden furniture.
Handling common problems after cleaning
If residue, water marks, or mildew appear after a cleaning, a calm, stepwise approach prevents more damage. Start with simple fixes before you try stronger products or repairs.
Sticky residue and haze: rinse and dry to reset the surface
Fix: Wipe the area with a clean, slightly damp cloth to lift remaining cleaner or disinfectant. Dry immediately with a soft cloth to stop haze from setting.
Water spots, rings, and buildup: when to use a vinegar mix
For light buildup on a table, a diluted vinegar solution can dissolve mineral deposits. Use 1 part vinegar to 4 parts water and spot test first.
Avoid repeated acid contact on sensitive finishes. If the finish dulls, stop and use a milder cleaner or consult a pro.
Mold: safe removal and ventilation tips
Move the piece outside if possible to limit indoor spores. Test a small area, then clean with a 1:1 vinegar-and-water solution or mild soap and water.
Scrub gently with the grain, do not oversaturate, wipe clean, and dry thoroughly. If staining or roughness remains, light sanding and refinishing may be needed.
Scratches from everyday use: quick touch-ups vs. repair
Minor scratches usually improve with a small amount of wax or polish applied to a cloth and buffed. For deeper scratches, filling and resealing or refinishing is the correct long-term fix.
- Quick reset: rinse, dry, and reassess.
- Spot test: always try solutions in an unseen spot first.
- Take your time: gentle methods often avoid bigger repairs.
Protect and maintain your furniture surface all season long
A few daily habits reduce damage and make disinfecting faster when someone is sick. Regular care prevents dirt buildup and shortens the time you need for deep cleaning. These small steps protect finishes and cut the need for stronger products.
How often to dust, clean, and disinfect
Dust high-touch areas often. Wipe visible grime as you see fingerprints or spills.
Disinfect busy spots more frequently during peak illness, but avoid over-wetting. Light, timed application prevents finish damage and keeps your table and other surfaces safer without extra work.
Coasters, placemats, and covers
Use coasters and placemats to stop rings and heat marks on a table. Covers help protect heavily used tops and make cleanup quick.
Polish and wax cadence
Apply wax or furniture polish sparingly. Do this only periodically—when water stops beading or the surface looks dull.
Over-polishing creates buildup; buff well and reapply only as needed to preserve shine and reduce wear.
Placement and preventive care
- Keep pieces away from heat vents and radiators to avoid drying and damage.
- Limit direct sunlight to prevent fading and stress to the finish.
- For oiled pieces, apply oil occasionally to prevent cracking in heated indoor air.
Preventive care reduces how often you must use a disinfectant and helps your table and other surfaces stay in great shape all season.
Conclusion
Follow a short, repeatable process every time — dust first, apply disinfectant lightly with the correct dwell time, rinse residue, dry immediately, and finish with a thin coat of wax or polish.
Your piece type and finish determine how much moisture and which products are safe to use. Spot test before larger applications to avoid surprises.
Damage-prevention rules: never soak the surface, skip harsh solvents, and don’t let disinfectant air-dry on the surface. These steps keep the finish intact and reduce long-term wear.
Treat protection as part of the routine. A well-maintained surface cleans easier and needs milder products. When unsure, start with the gentlest method and only step up strength if needed to keep your items looking their best all season.